
Excel Printing Part Two
Part 1 covered the main printing options in Excel.
Part 2 covers these further Excel print features:
- Print Entire Workbook
- Print Titles
- Print gridlines
- Print selected chart
- Print selected table
- Print region or selection
- Set Print Area
- Add to Print Area
- How to print formulas in Excel
- Insert header and footer
- Using Workbook views when adjusting the header, footer and margins
- Header & Footer Design ribbon
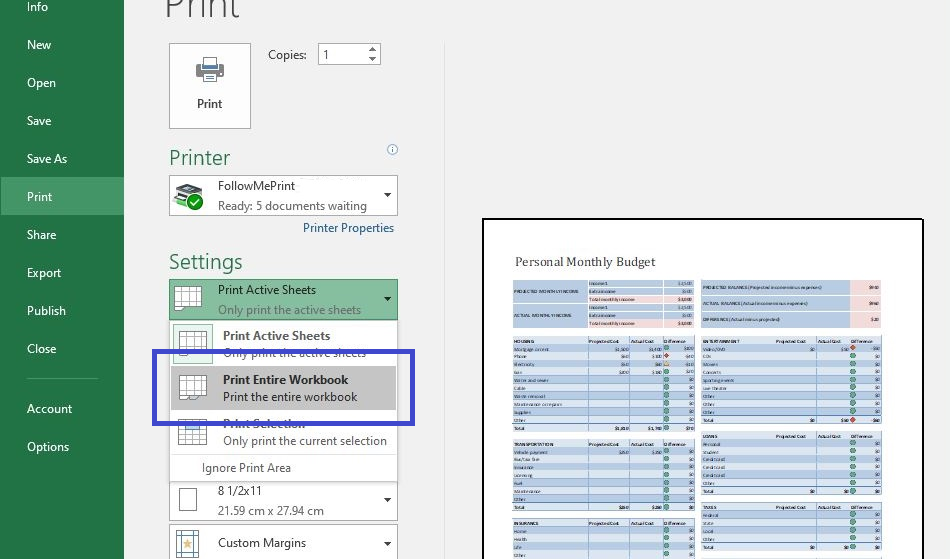
Normally the print preview will only print whichever sheet you are working on but you can also print the entire Workbook.
Press Ctrl-P or select Print from the Backstage view.
From the first drop-down in the Settings select Print Entire Workbook.
When printing large multi-page spreadsheets with many rows or many columns, some pages may print without the table header information. The solution is to use the Print Titles button to make the title column and/or the title row appear on every page.
On the Page Layout ribbon, click Print Titles from the Page Setup group.
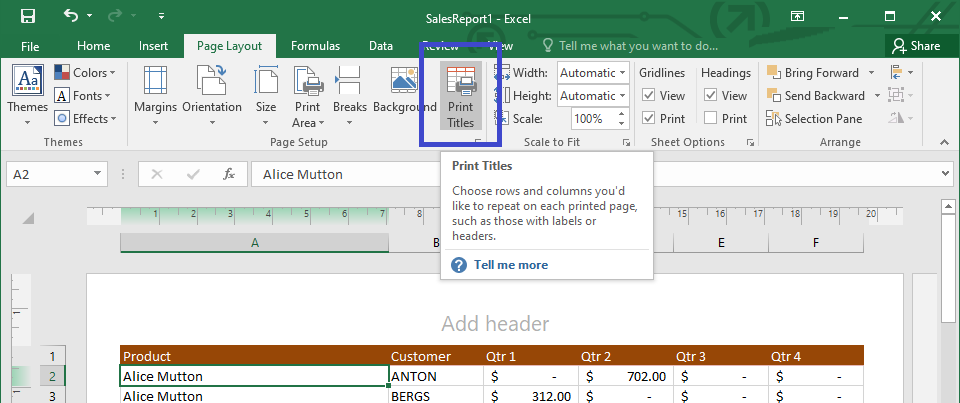
The Page Setup dialogue will open.
On the Sheet tab the Print titles sections allows you to select the rows and columns you would like to appear on every printed page.
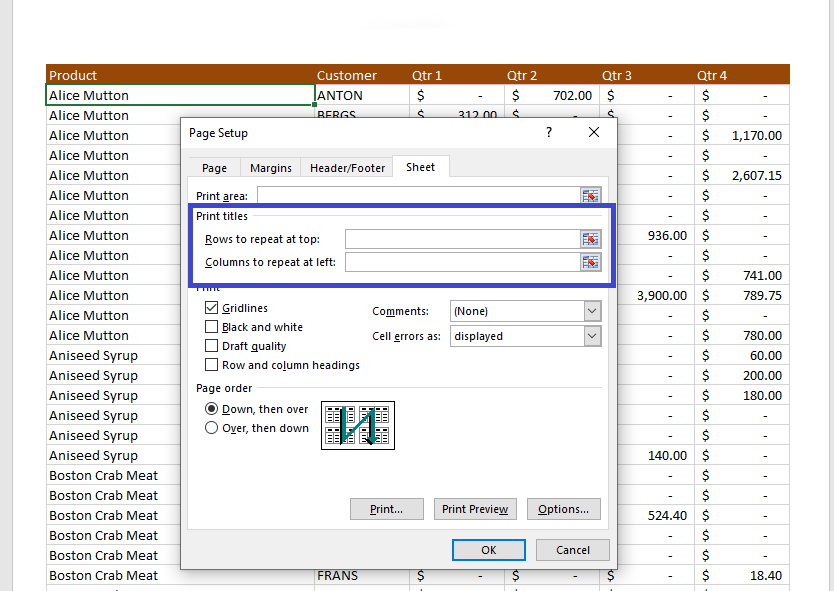
Click the button to the right side of either the Rows to repeat at top field or the Columns to repeat at left field.
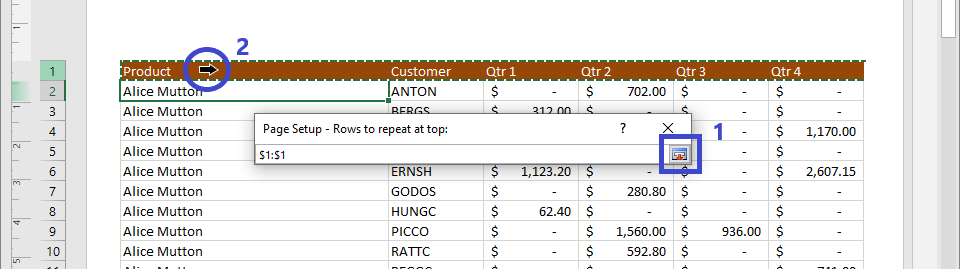
Click OK on the Page Setup dialogue to confirm the Print Titles selection.
On the Sheet tab of the Print Dialogue you can check the box to Print gridlines. You can also find this and other print options on the Page Layout ribbon.

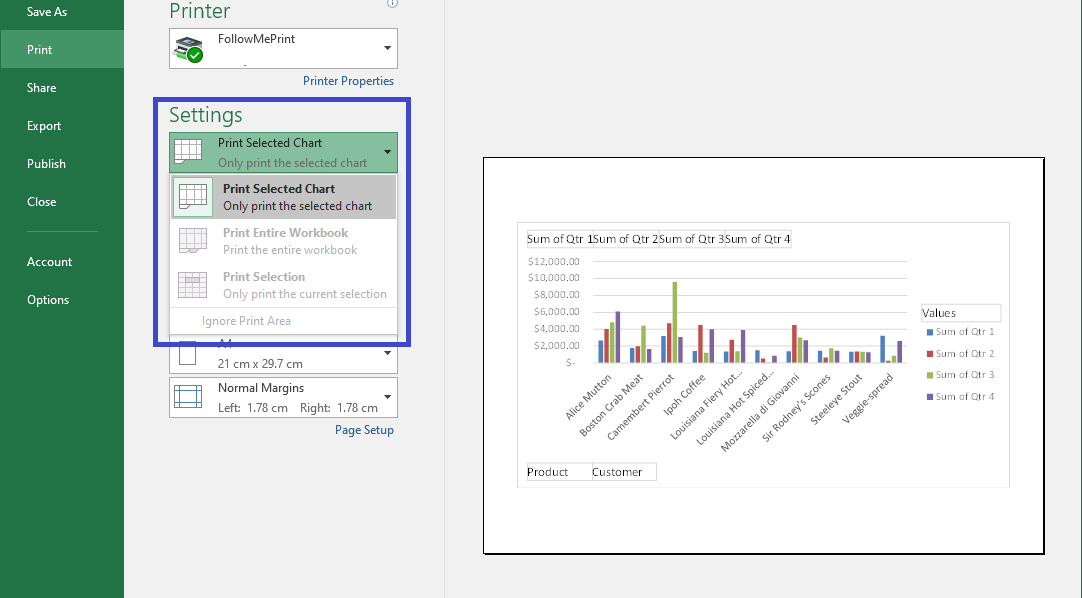
Select the chart you want to print.
Press Ctrl-P or select Print from the Backstage view.
From the first drop-down in the Settings select Print selected chart.
Select the table you want to print.
Press Ctrl-P or select Print from the Backstage view.
From the first drop-down in the Settings select Print selected table.

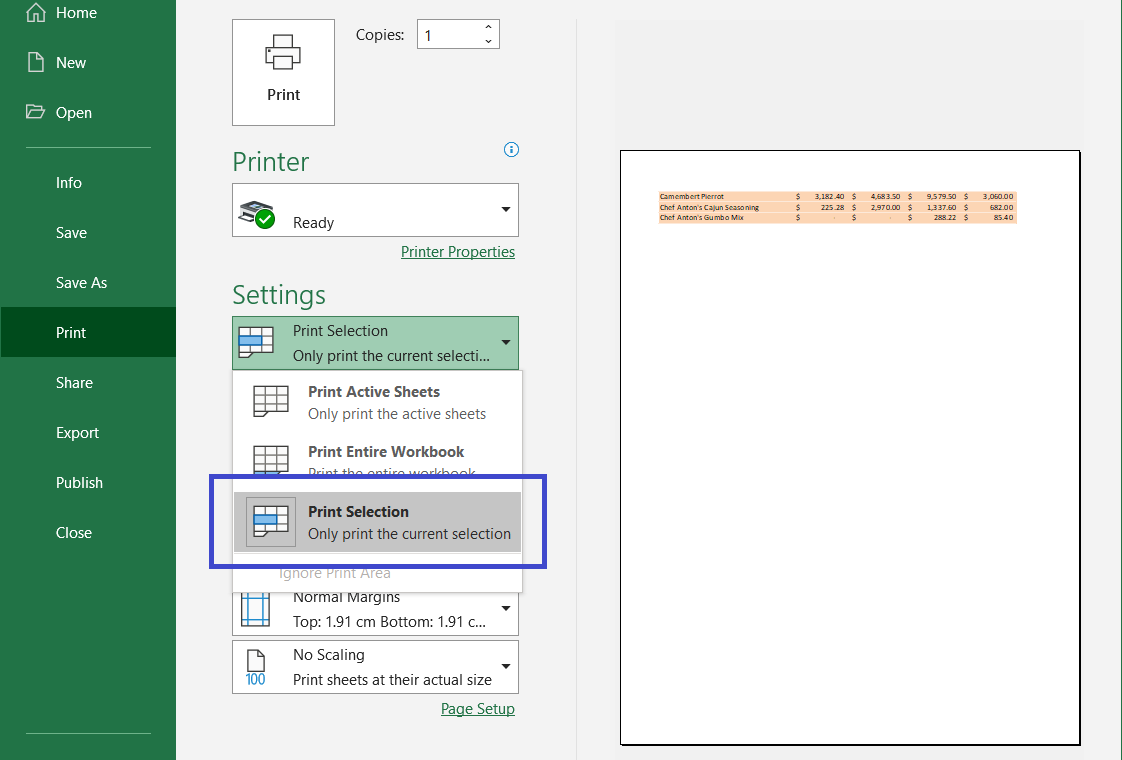
Often you want to print a selection of data from a spreadsheet, not the entire table.
Left-click and drag to select the cells you would like to print. If you would like to print multiple selections hold the Ctrl key while you make your selections.
Press Ctrl-P or select Print from the Backstage view. From the first drop-down in the Settings select Print Selection.
You can set a print area Excel to remember a particular area to print. This can be helpful when you need to regularly print the same cells over time while making edits or without needing to worry about what is currently selected.
Left-click and drag to select the cells you would like to print. To create a print area that is noncontiguous, hold down the ctrl key while you make separate selections.
From the Page Layout ribbon, select Print Area, then Set Print Area.
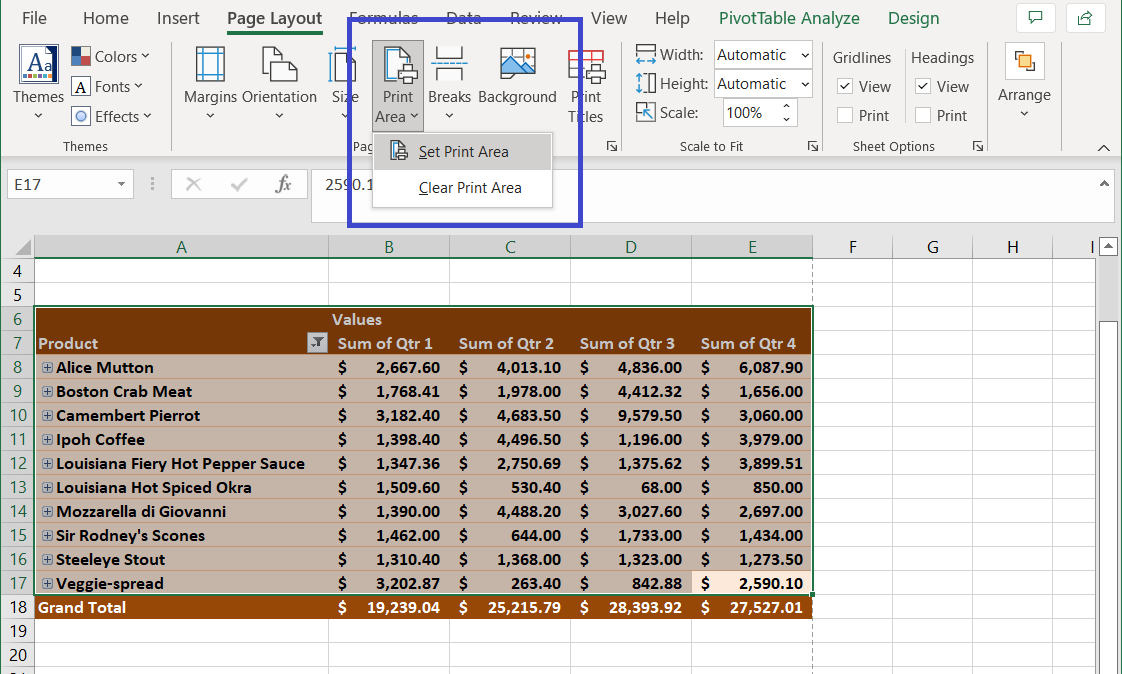
Once you have set a Print Area, you can add to it by making a new selection and choosing Print Layout -> Print Area -> Add to Print Area. Note Add to Print Area will not be available if part of the new selection overlaps the existing Print Area.
You can clear the Print Area from the same menu and you can Ignore Print Area when setting the Backstage View print settings.
![]()
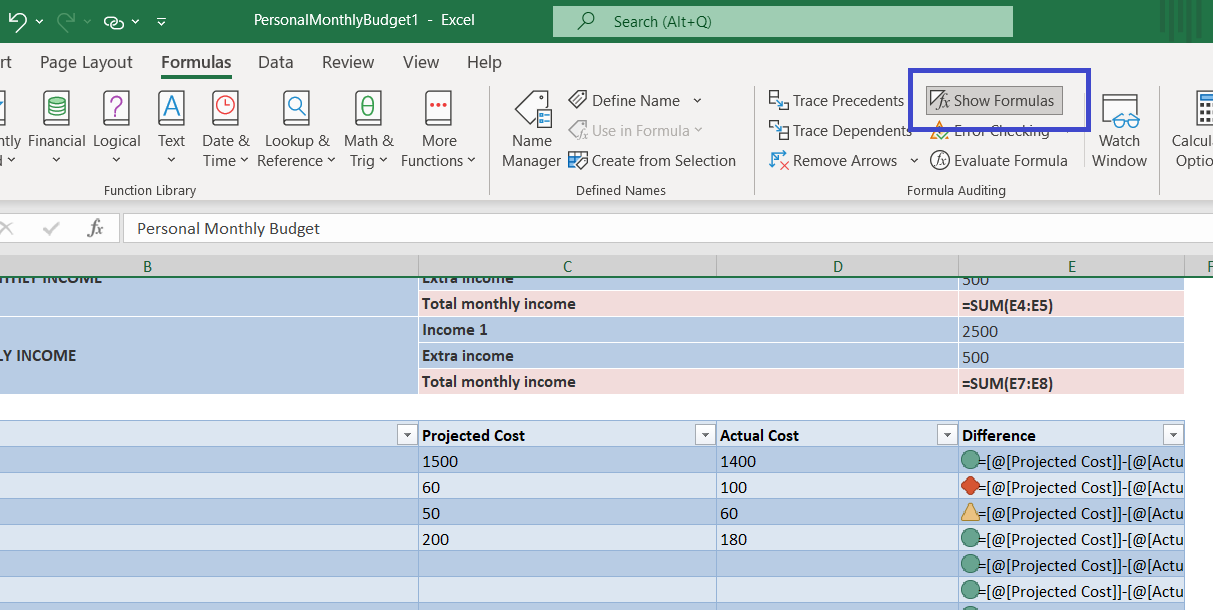
How to print formulas in Excel
If you need to see all the formulas on a sheet or display them for printing, select Formulas ribbon -> Show Formulas from the Formula Auditing group.
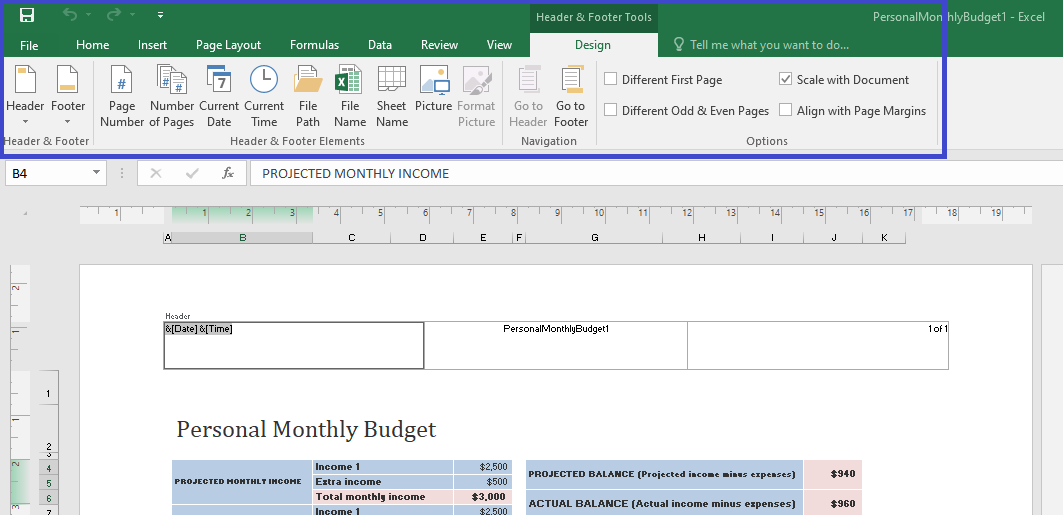
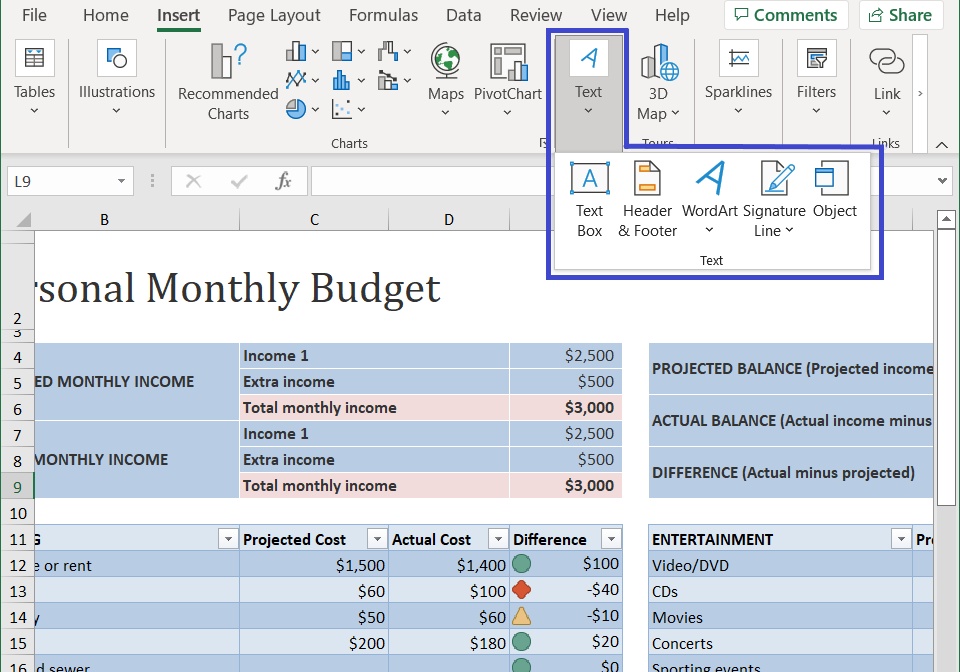
You can add page header and footer information such as page numbers, dates, document name etc. from the Insert ribbon -> Header & Footer.
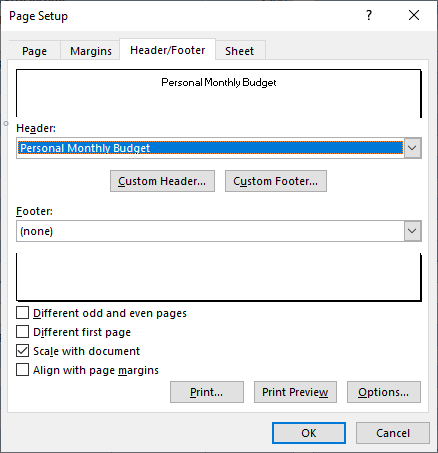
If no header/footer is set yet, the Page Setup dialogue will open allowing you to select from a range of drop down options or set a custom header or footer.
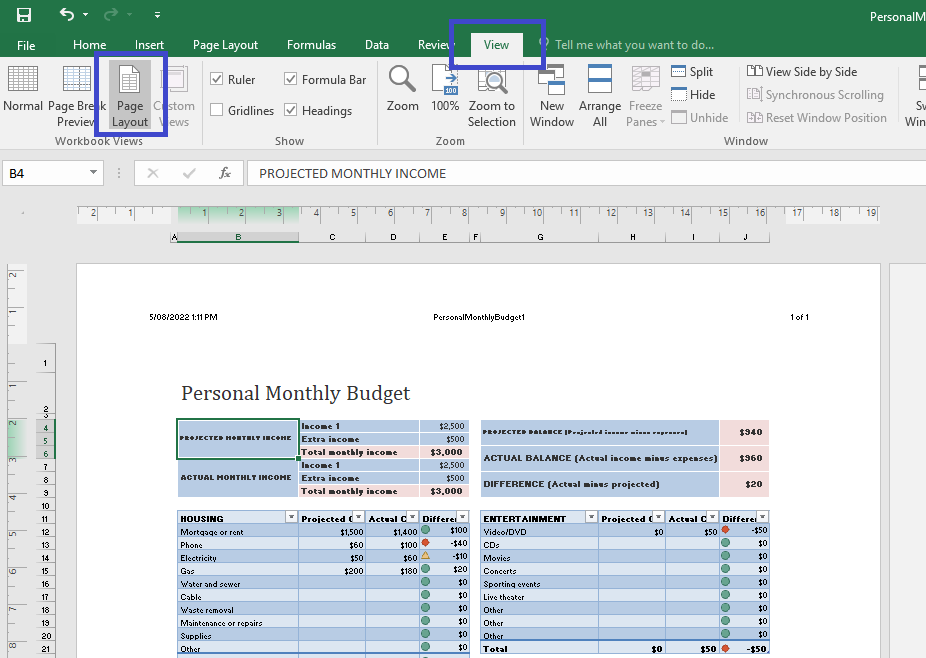
Using Workbook views when adjusting the header, footer and margins
If you want to preview the head and footer, select View ribbon -> Page Layout. You will be able to see how adjustments to the header, footer and page margins affect the layout.
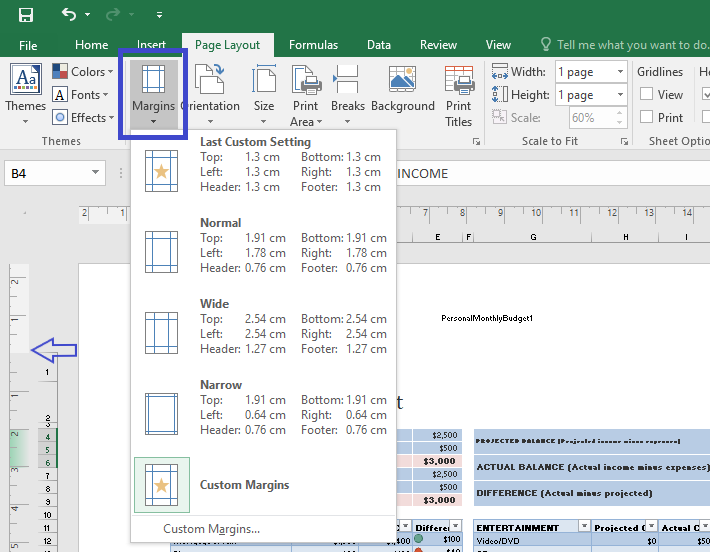
You can quickly adjust for the header and footer by selecting margin widths from the Page Layout ribbon -> Margins.
While in Page Layout view the margin width is displayed as a lighter grey, the margin edges can be adjusted here, from the Custom Margins on the Page Setup and from the Print Preview if “Show Margins” is re-enabled.
Once you have selected a section of the header or footer, the Header & Footer Tools Design ribbon will appear. Here you will find a range of options for the header and footer that can also be found on the Page Setup.