

Excel Printing Part One
Just like other Microsoft Office files, you can prepare Excel documents for printing by pressing Ctrl-P to access the Backstage View, or by clicking File -> Print.
The Backstage View

Anything you do to a document in the Backstage View interrupts the editing of the document and you, can review how the print will look in the useful print preview but Excel also offers many of the same printing options on the Page Layout ribbon and the View ribbon, allowing you to adjust printing options while continuing to edit.
Page Setup
The Page Setup dialogue box provides the options to prepare your data for printing or exporting to another format. It is available from both the Backstage View and the Page Layout ribbon.
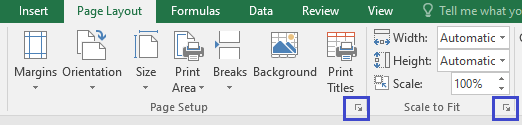
The Dialogue Box launcher buttons for both the Page Setup and Scale to Fit tool groups both launch the Page Setup dialogue.

On the Page Setup dialogue, print options can be set quickly but adjustments are not previewed.
Workbook Views
Adjusting the same settings using the Workbook Views tool group on the View Ribbon allows you to see immediate previews of your changes.
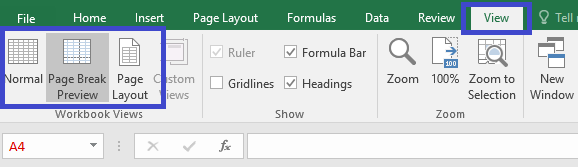
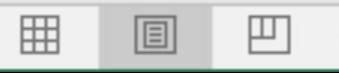
The three Workbook Views buttons are also available next to the zoom tool at the bottom of the window, on the Status Bar.

Page Layout (View)
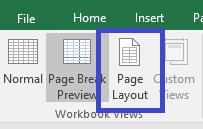
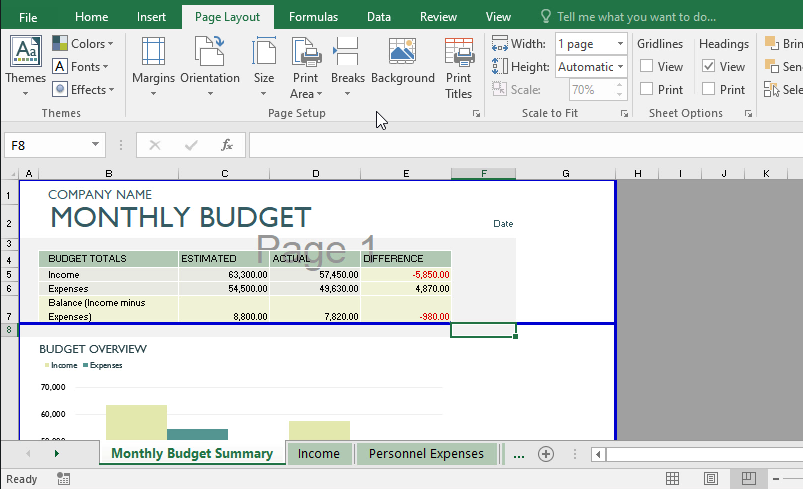
Page Layout allows you to see a live preview of the completed print job laid out on paper including white space. You can see how the cells span all the pages. Header and Footer spaces, margins and page breaks are displayed and can be edited dynamically in the view.
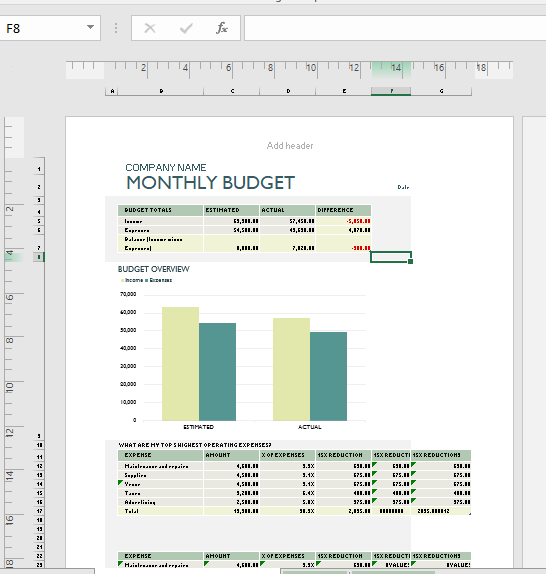
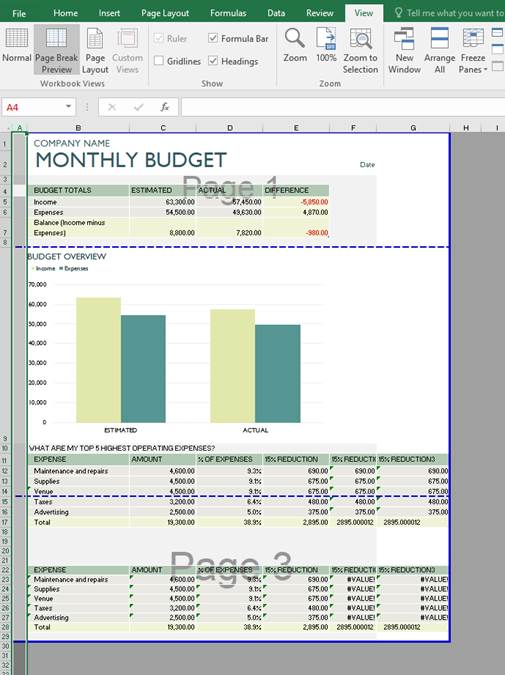
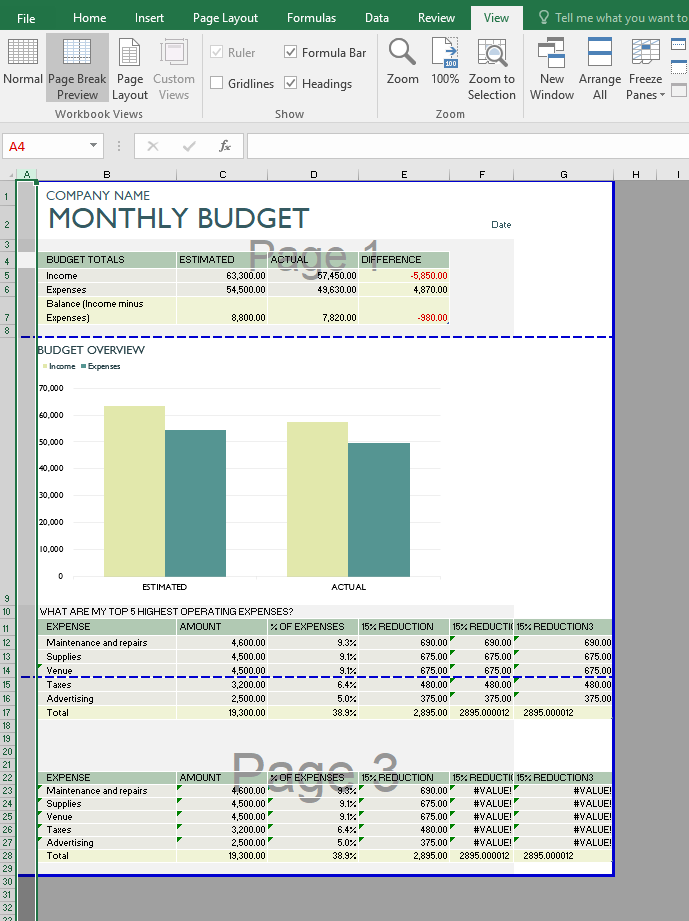
Page Break Preview
Use the Page Break View to adjust which columns and rows fall on which page for printing.
The Excel program works out how many cells will fit on the set paper size and places a dotted line around these cells.
Drag the blue dotted lines to adjust how the data will print. If you change the content or styling such as font type or font size, the dotted lines will adjust dynamically.
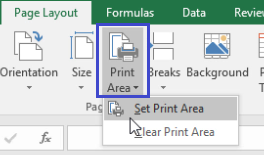
Print Area
Use this to define the region of cells to be printed. This is useful if you only want to print a specific section of a larger set of data.
- Click and drag a selection around the cells to be printed
- Click the Print Area button and select Set Print Area
Note: The selection will not be forced to fit a single page. You may need to use further options below to review and adjust the page breaks, margins etc.
Paper Size and Orientation
You can change the orientation and paper size on the Page Layout ribbon.
Click on Orientation in the Page Set up Group to select Portrait or Landscape
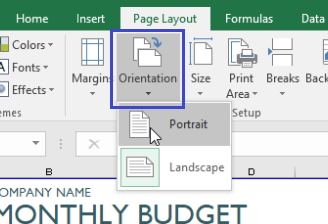
Click on Size to select from standard paper sizes

Page Breaks
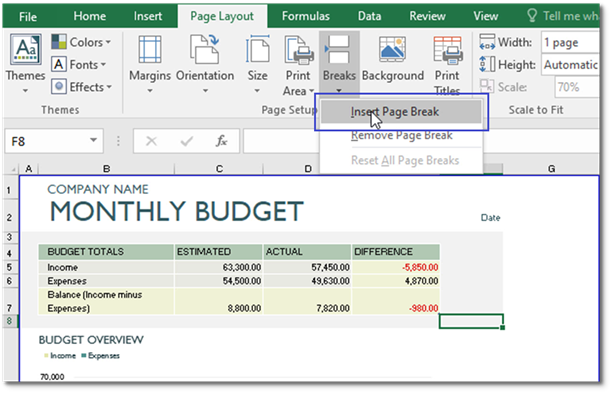
You can override breaks set by Excel by inserting your own page breaks. It is advisable to do this while in Page Break View mode so you can easily see and adjust the new page break.
- Click on the cell below the location for the new page break
- Click on Breaks in the Page Setup Group on the Page Layout Tab
- Click on Insert Page Break
Note: The new blue page break is visible in Page Break View, drag the blue lines to adjust further. The final print result is visible in Page Layout view.
Margins
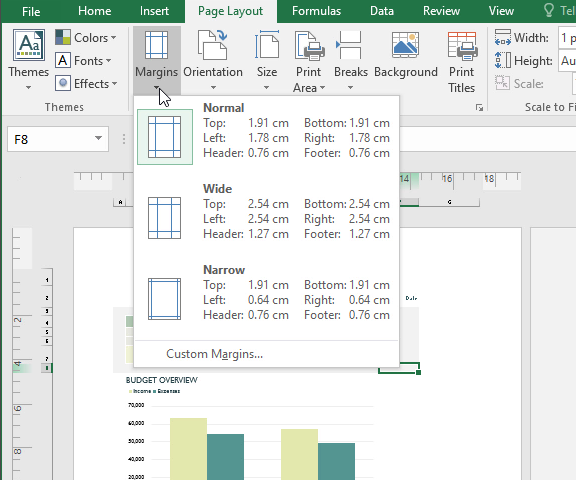
You can change the margins: left, right, top and bottom to the size you prefer.
- Click on Margins in the Page Setup Group on the Page Layout Tab
- A drop down box will appear
- Click on the Margins of your choice
Note: you can set up your own Margins using Custom Margins or the Print Setup dialogue box.
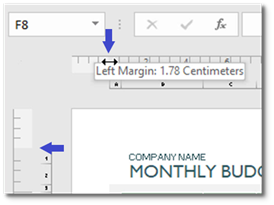
You can also adjust the Margins dynamically:

Click on Page Layout view
- Hover the mouse over the side and top rulers where the current margin is delineated with a lighter shade.
- You can click and drag to dynamically adjust the Custom Margins
Selecting the Printer
You can identify the printer you would like to use.
- Click on the File tab
- The Backstage view will appear
- Click on Print
- Select the printer you want to use
At this time you can also choose:
- To print All of the pages within a spreadsheet or certain pages
- Print the Active sheet or a Selection from the spreadsheet
- Number of copies
- Click on Print to send the spreadsheet to the Printer.