

If you are using a WordPress theme, widget or block pattern with place-holder images you might need make custom or unique icons to replace them. This technique will work for making larger logos too.
- Before:

- After:

You can do this quickly with the free web app Adobe Cloud Express. Make a free account here: https://express.adobe.com/sp/.
This guide requires you to use the right click menus in Google Chrome browser, if you do not have Chrome installed or use a different browser like Safari or Edge you may not have the same options.
- Open Chrome browser and login to your WordPress site.
- Find the logo you want to replace. In our example it is one of several placeholder icons in a page we are editing.
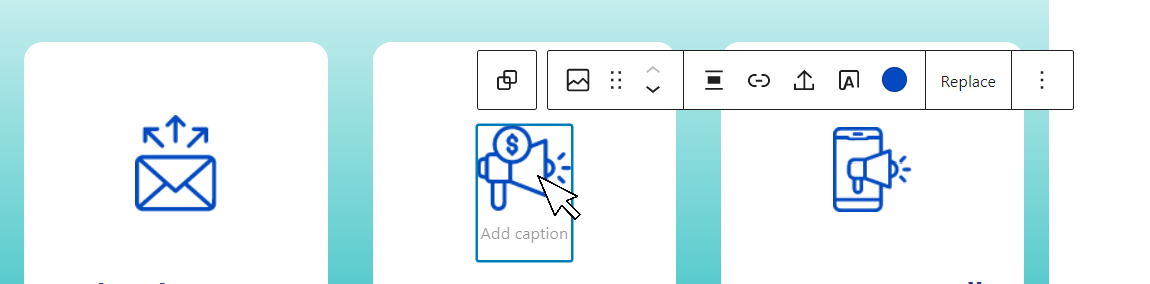
- Right click on the icon and select “Open image in new tab”.
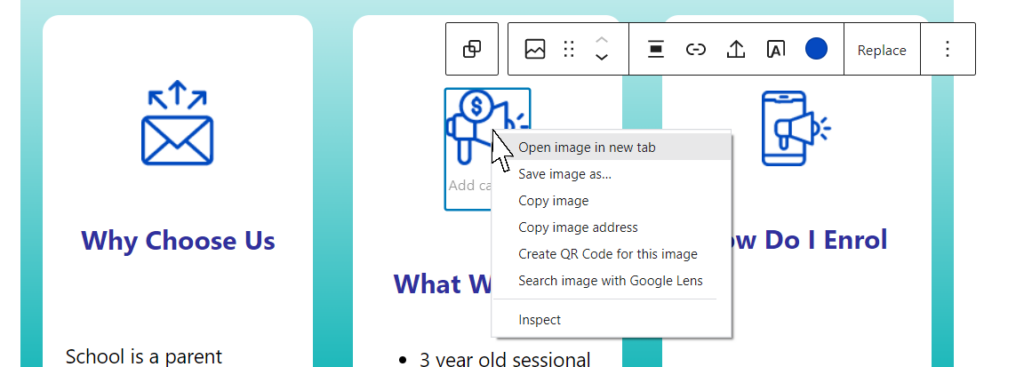
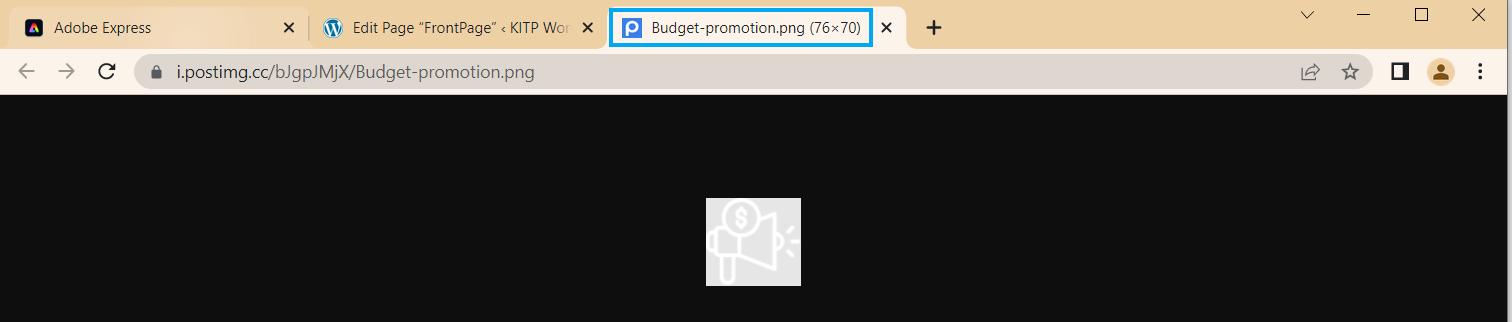
- You should see the file name and image dimensions in pixels (px) the tab. You could also right click on the image and “Save image as..” if you want to investigate the image further or keep a copy. We just want the dimensions.
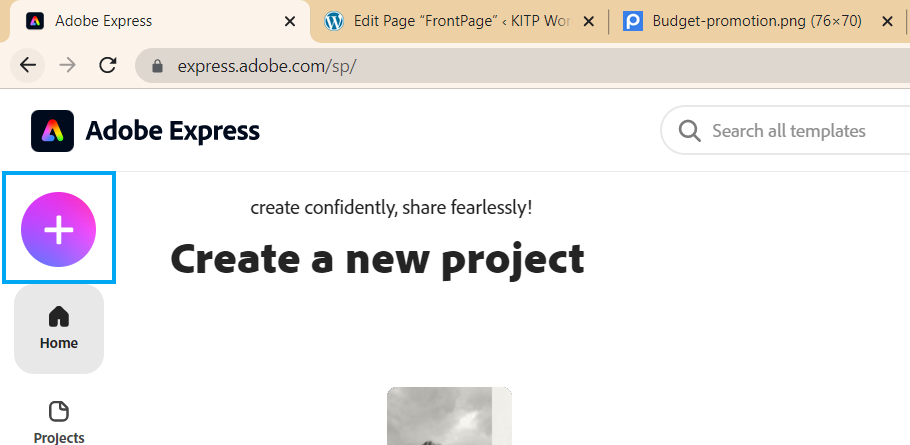
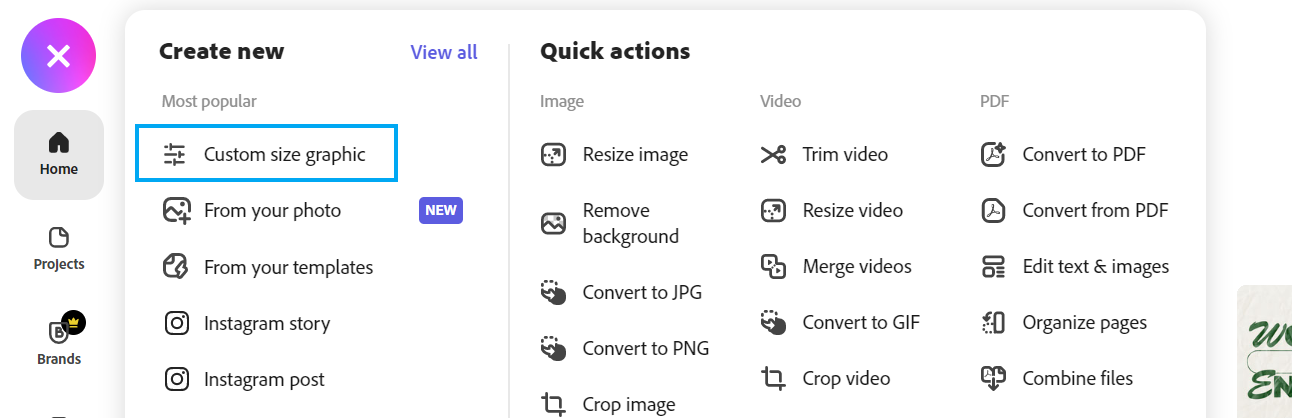
- In a new tab log into your Adobe Express account and click the “plus button” to start a new project.
- Select “Custom size graphic”, then set the width and height to match the image to be replaced.
Our example is small (76×70) which is fine for a small icon but you might want to experiment with larger sizes. If you are making a logo you might want 500 px or above. It is easy to reduce the size later in WordPress.
- Click “Next”. Your project space will load.
- Select “Shapes” from the left menu. You can use the search box to filter the shape collection to what you want, try a range of terms. Think creatively to combine several shapes, or experiment with search terms. Each time you see a good idea click it once to place it on the project workspace.
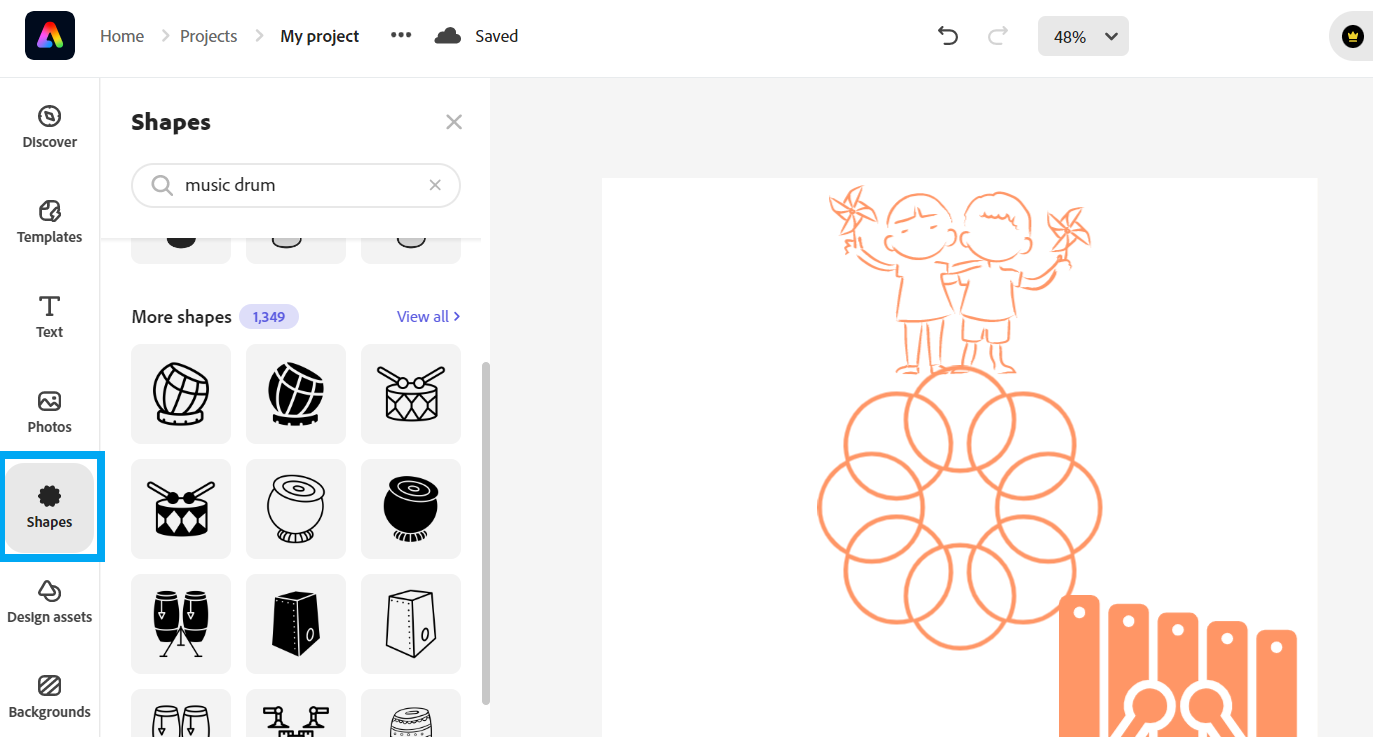
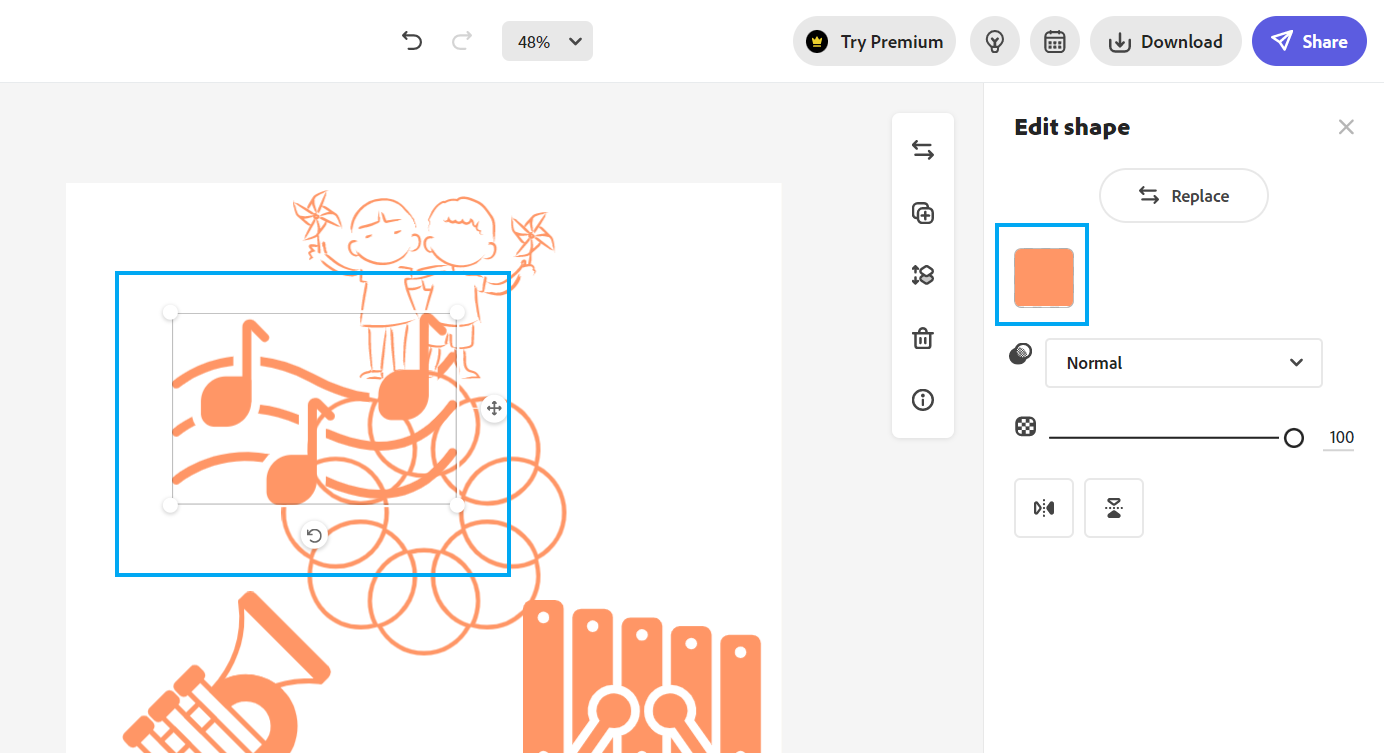
- Select the shapes on the workspace to move, resize and colour them. Remove unwanted shapes with the delete key.
- Leave the background white. Adobe Express allows you to add text, images, backgrounds etc, but in our example we want a simple clear graphical icon.
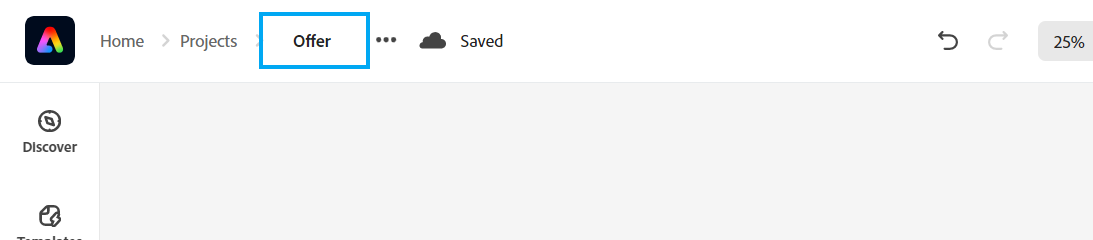
- Adobe Express will save as you work. When finished, click on “My project” to rename it appropriately.
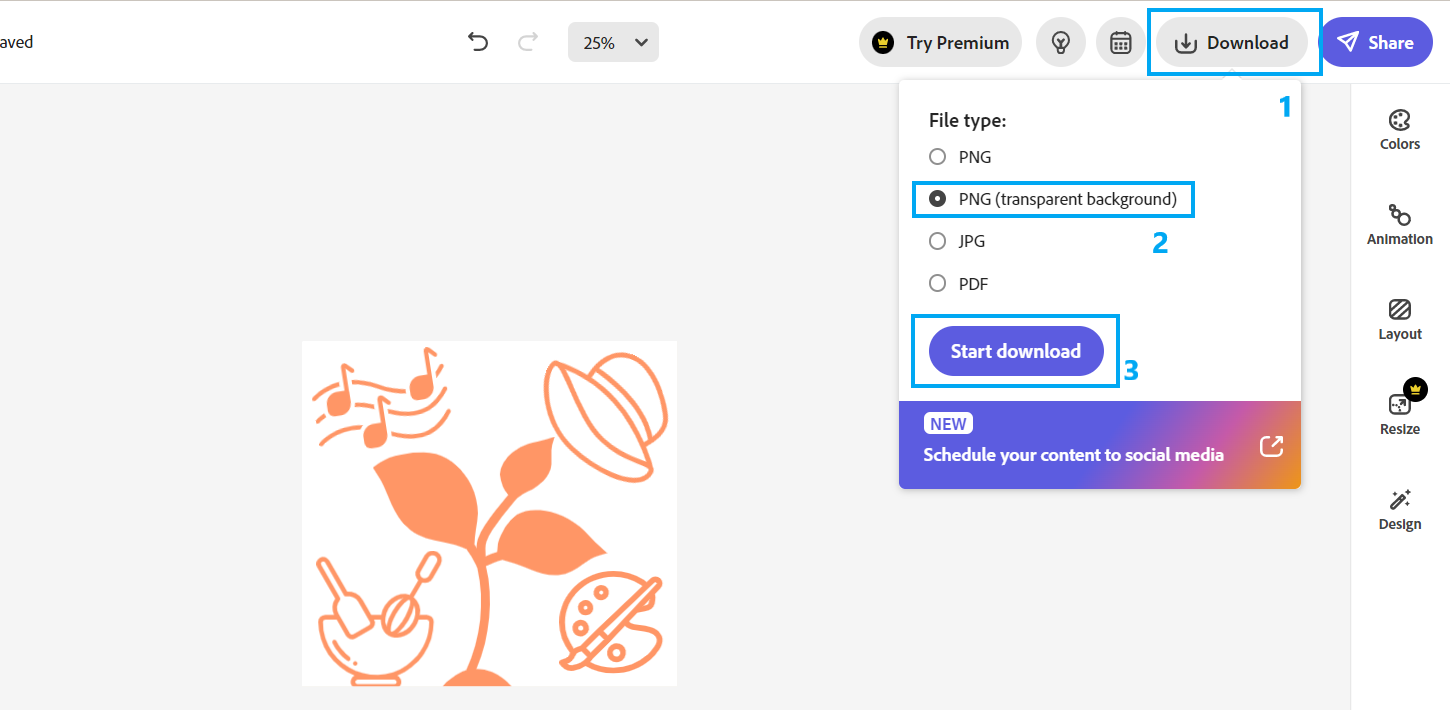
- Save the image to your computer by selecting “Download”. Choose PNG (transparent background). Click “Start Download”. The file will save to your downloads folder.
- Return to the tab you are editing the WordPress page in. Select the icon. Choose “Replace” from the tool tip, then “Upload” to fetch and upload the new icon from your downloads folder.

- In our example the PNG file of the icon is orange on a transparent background. However the WordPress picture block allows you to apply a colour filter, in this case, blue.

