
You can perform a manual backup of your Windows user files with an external drive by using Backup and Restore in Windows Settings. Backup and Restore makes copies of the user files only (Documents, Desktop, Pictures, Downloads etc.) it does not back up system files or programs.
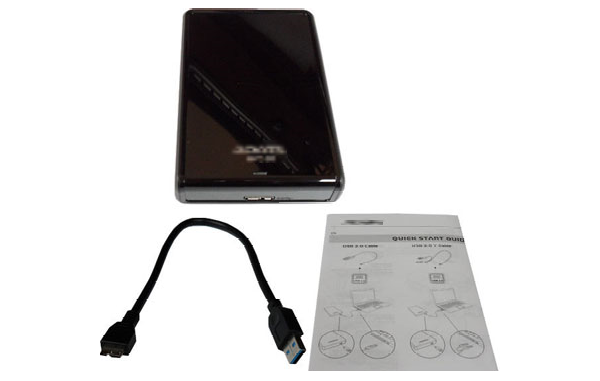
This will require a reasonably large external hard drive that can connect to your computer with a USB cable*. Any of the 1TB or 2TB portable external drives available form stores should do.
Connect the external drive to the computer. Take note of the name of the drive when Windows notifies you that it has detected the drive. Although the backup will not erase files from a drive selected in error, you can double check if you are unsure by using File Explorer and navigating to This PC to review drives.
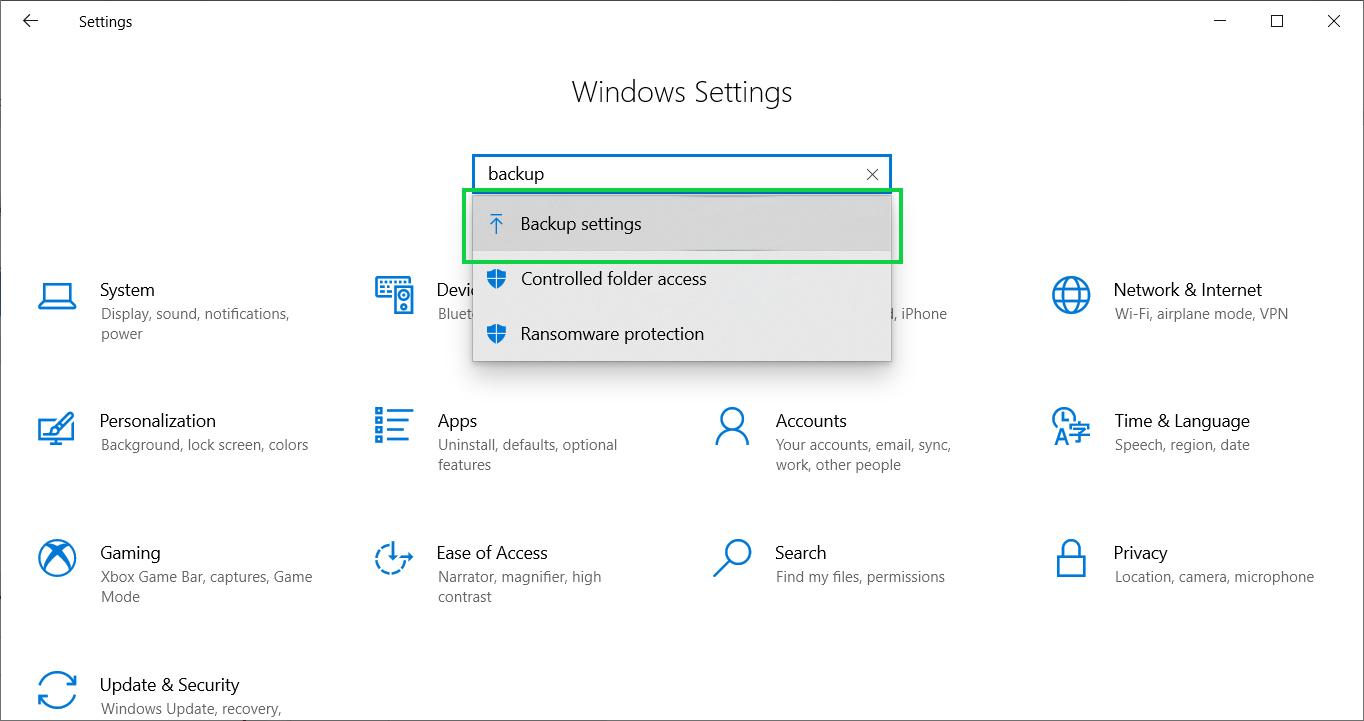
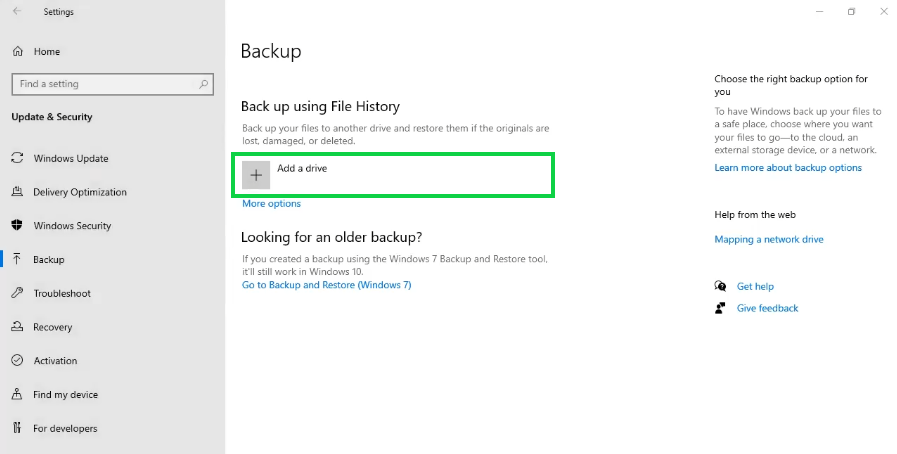
Launch the Windows Settings application, type “backup” into the search to find and select Backup Settings.
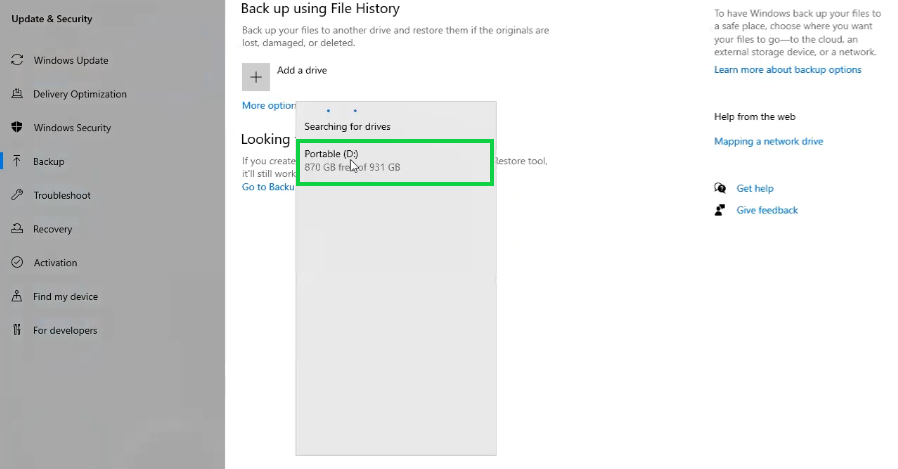
Select Add a drive. Windows will commence searching for connected drives and network attached storage.
Make sure to select the detected drive that you plugged in earlier.
Keep the portable drive connected to allow the backup to commence. You can select More Options to configure the regularity of the backup, what folders to backup or ignore and to force the backup to commence.
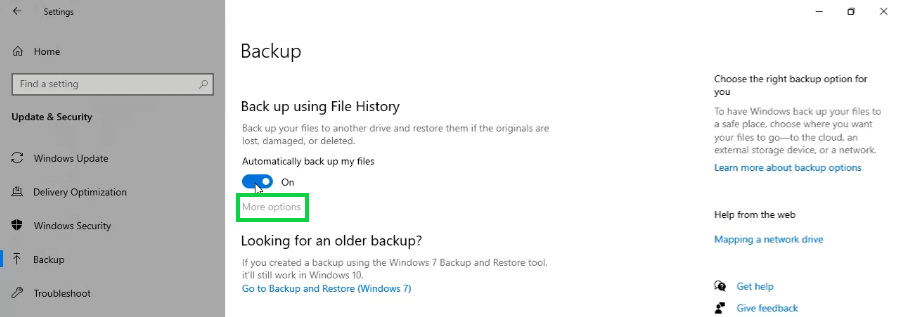
At the very bottom of More options, you will find the option to Restore files from a current backup such as the attached external drive.

If you are on Windows 11, you can find the backup and restore options here: https://support.microsoft.com/en-us/windows/backup-and-restore-in-windows-352091d2-bb9d-3ea3-ed18-52ef2b88cbef#WindowsVersion=Windows_11
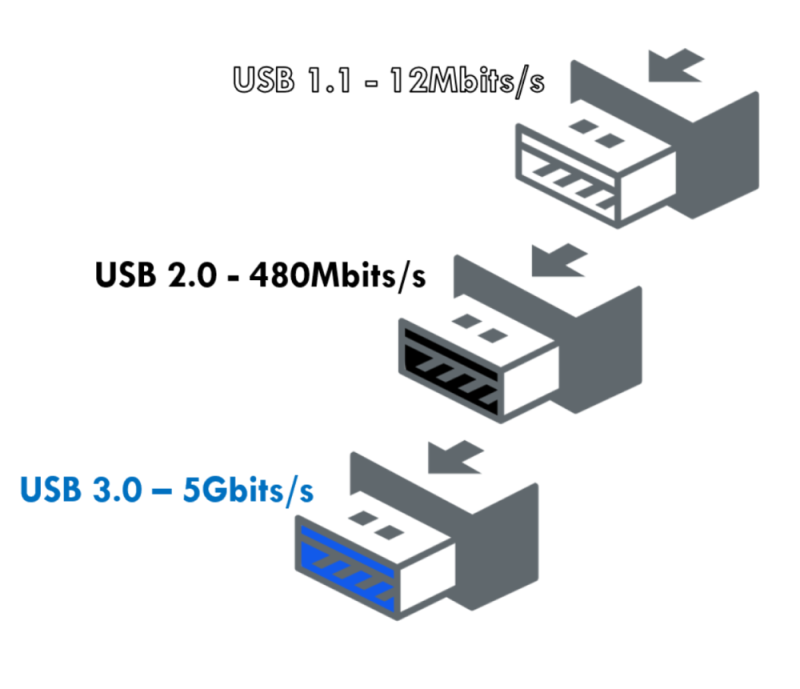
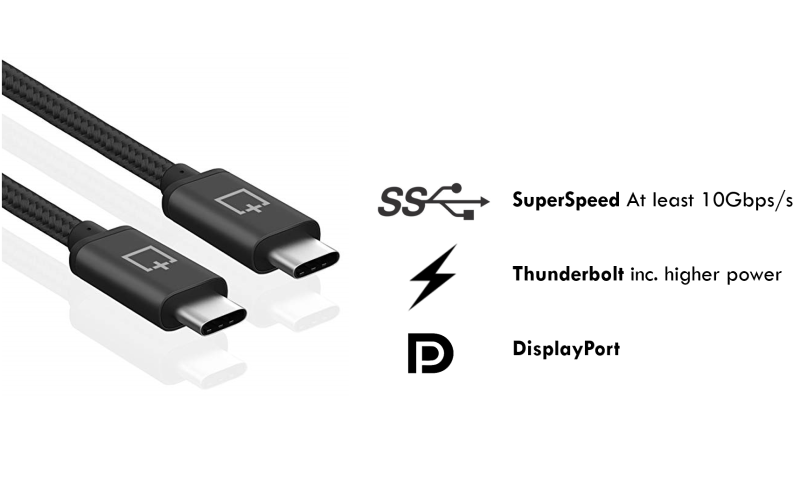
*Use a USB 3.0 capable USB cable as they will allow faster transfer. To assist you to confirm the kind of cable you have, manufacturers usually assemble the internal part of the USB 3.0 plugs with blue plastic. If both the Computer and Portable drive have the newer USB-C type connection, this will also allow fast transfer.