

Excel documents are often ‘living’ documents that are intended to be viewed and updated collaboratively. To avoid users introducing errors to your documents, Excel’s protection options can lock or hide cells or formulas.
The Protect Workbook command locks the entire document. It isn’t encrypted and can still be viewed but changes require a password.
The Protect Sheet command protects a single Worksheet or any number of cells, rows or columns within that sheet. This can be useful to avoid accidental destruction of data or to lock hidden rows or columns to ensure confidentiality.
This guide will cover how to use Protect Sheet to:
- Protect a Worksheet
- Unlock a selection of cells
- Unlock all cells
- Hide & lock a selection of cells
Remember to ensure you record any passwords you set!
Protect a Worksheet
To protect an entire Sheet to prevent editing click on the Review ribbon.

Click on Protect Sheet.
From the Protect Sheet window you can select what you want to allow uses to be able to do.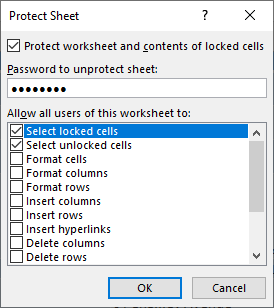
Set a password and click OK. You will be asked to confirm the password.
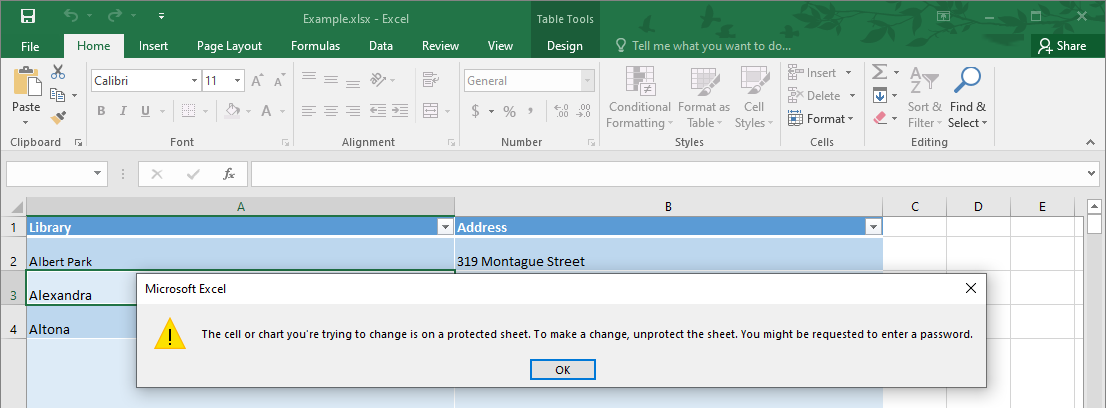
Once protected many of the ribbon commands will be unavailable and users try to edit locked cells will be prevented with an alert.
To unprotect the worksheet and restore the user control, return to the Review ribbon and click Protect Sheet again (now called Unprotect Sheet) to enter the password.
Unlock a selection of cells
If you want to allow users to be able to edit specific areas, you can define them before setting the protect sheet password.
Select the cell, column or region etc.

Click on the Home ribbon and select Format -> Format Cells, or right-click on an area of the selection and select Format Cells from the menu.
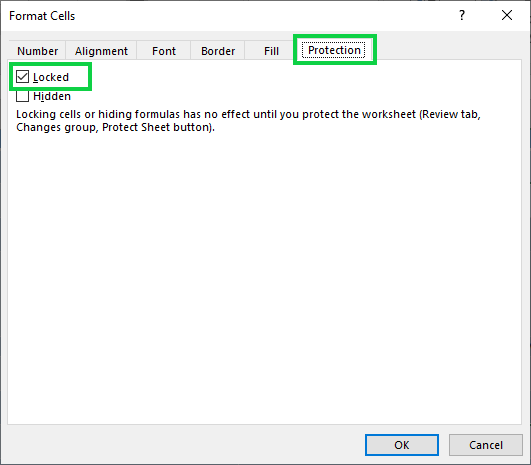
Click on the Protection tab.
Uncheck Locked.
Once you set Protect Sheet, the unlocked cells will remain editable, but many of the ribbon commands will still be unavailable.
Unlock all cells
If you only want to protect a specific region and leave the rest of the sheet editable, you need to unlock the entire sheet first, then use Format Cells to lock the specific area you select, finally set the Protect Sheet password.
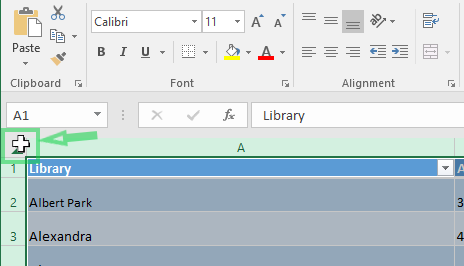
To unlock all the Cells, click on the top left corner of the spreadsheet. This will select all rows and columns.
Click on the Home ribbon and select Format -> Format Cells, or right-click on an area of the selection and select Format Cells from the menu.

Click on the Protection tab.
Uncheck Locked.

Hide and lock a selection of cells
If you want to ensure a row or column of data remains confidential, you can opt to hide the selection prior to setting the Protect Sheet password.
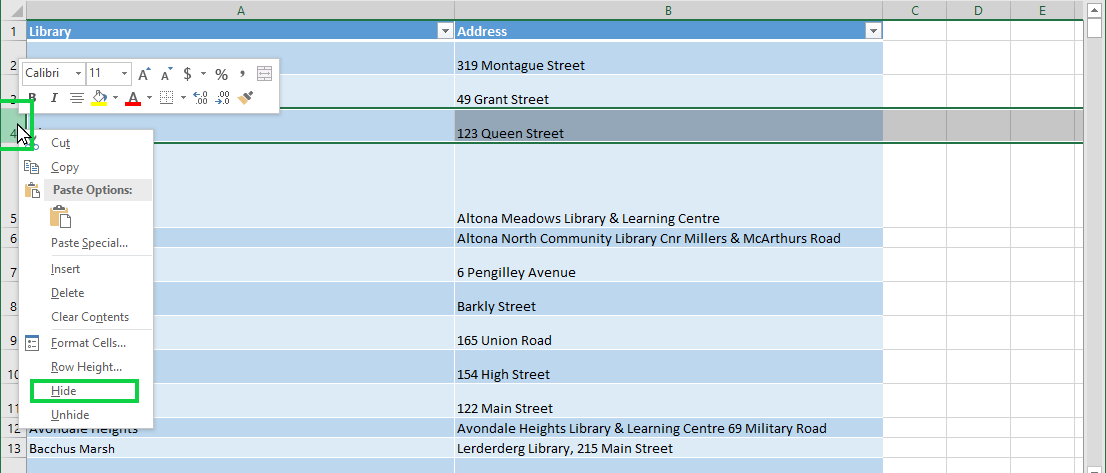
To hide a row or column, Right-click on it’s numeral(s) or letter(s) along the edge of the workspace and then select Hide from the menu.
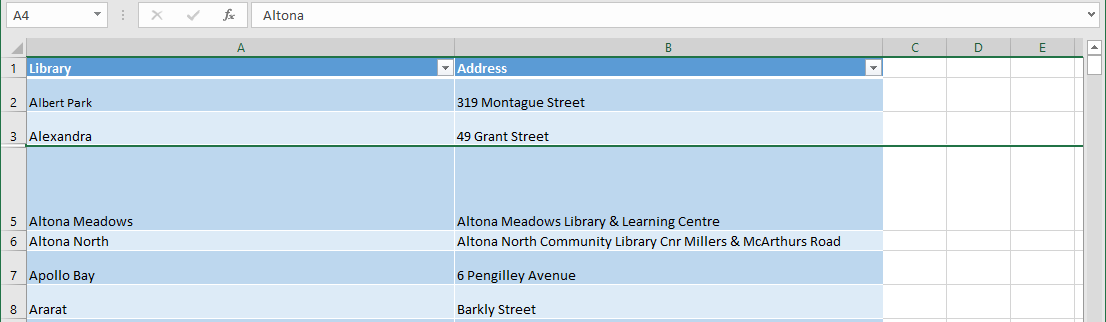
You can then proceed to Protect the sheet.