
This tip will show you how to insert a bordered picture as a background into Microsoft Word and adjust the margins so you can compose text in Word for a poster or certificate etc.
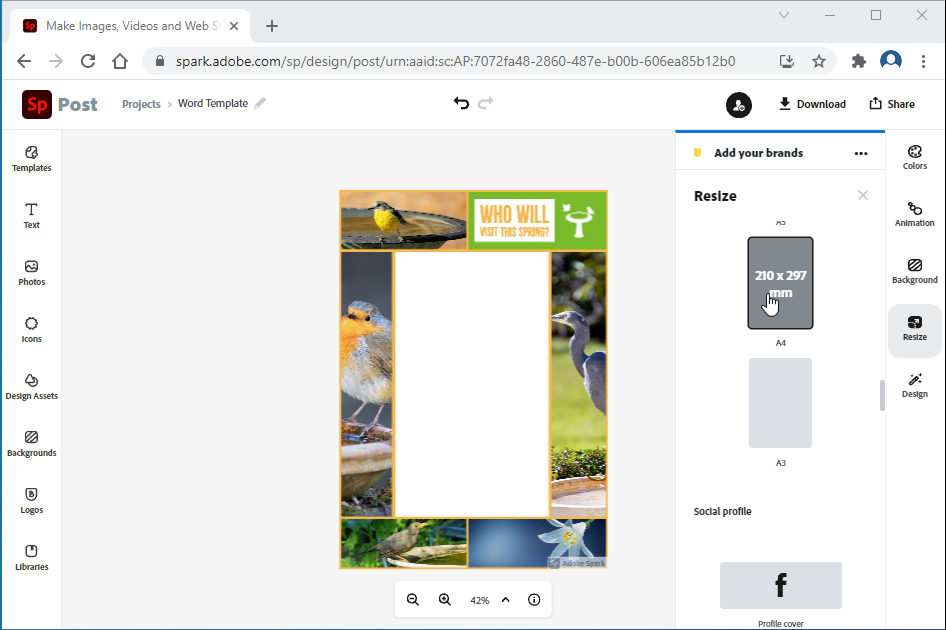
We’ll use an example picture created in the free Adobe Spark, downloaded A4 size, but similar pictures with wide borders can be found with an online image search.
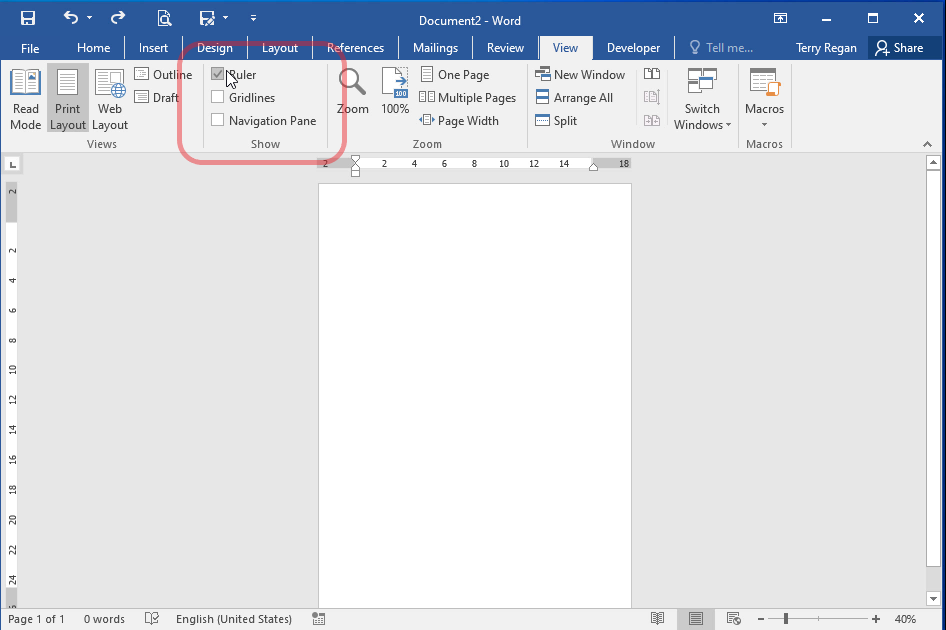
Start Microsoft Word and enable the ruler. Tick the Ruler option in the Show group on the View ribbon (View > Ruler).
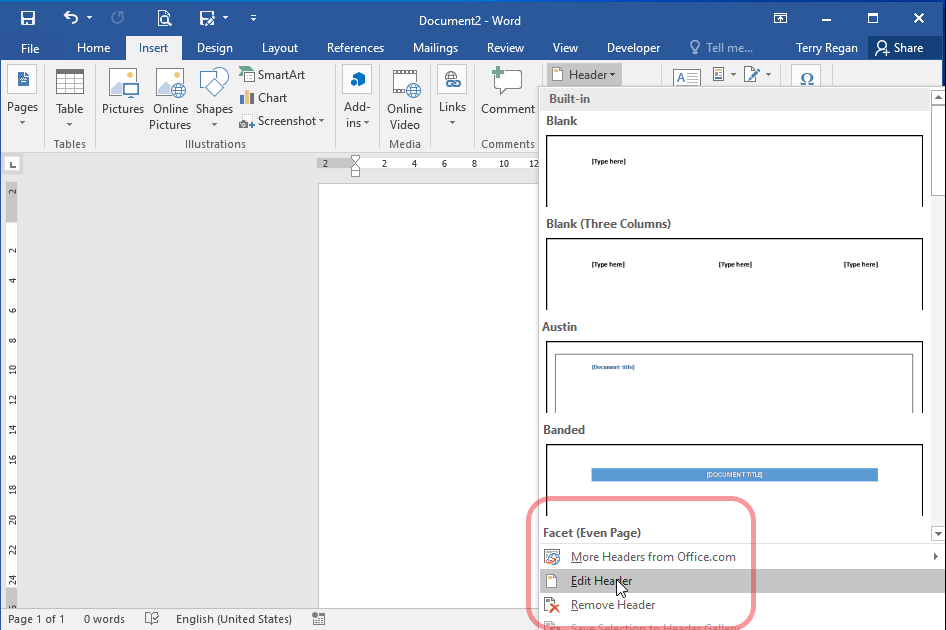
On the Insert ribbon select the Header drop-down and select Edit Header (Insert > Header > Edit Header).
On the Headed & Footer Tools Design ribbon select Pictures from the Insert group. The file browser will launch and you can select your picture into the Header space of the page. If you downloaded the picture from Adobe Spark, it will be in your downloads folder. (Design > Pictures > Select file > Open)

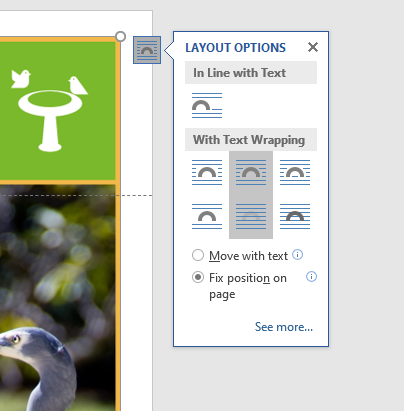
The picture will appear in the page’s header space. With the picture selected, use the floating Layout Options tooltip to set the picture to Behind Text. Or you can use the Wrap Text drop down from the Arrange group on the Format ribbon (Format > Text Wrap > Behind Text).
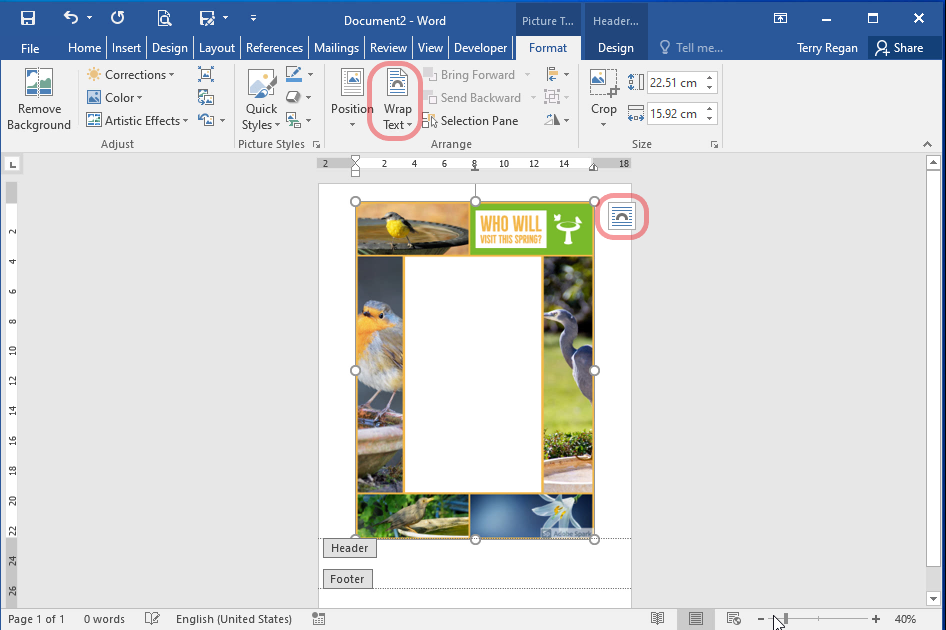
With the picture selected, use the floating Layout Options tooltip to set the picture to Behind Text. Or you can use the Wrap Text drop down from the Arrange group on the Format ribbon (Format > Text Wrap > Behind Text).
You can also select Fix Position on Page to anchor the image in place (Format > Text Wrap > Fix Position on Page).
Click & drag to reposition the picture and drag the sizing handles in the corners to scale the picture.
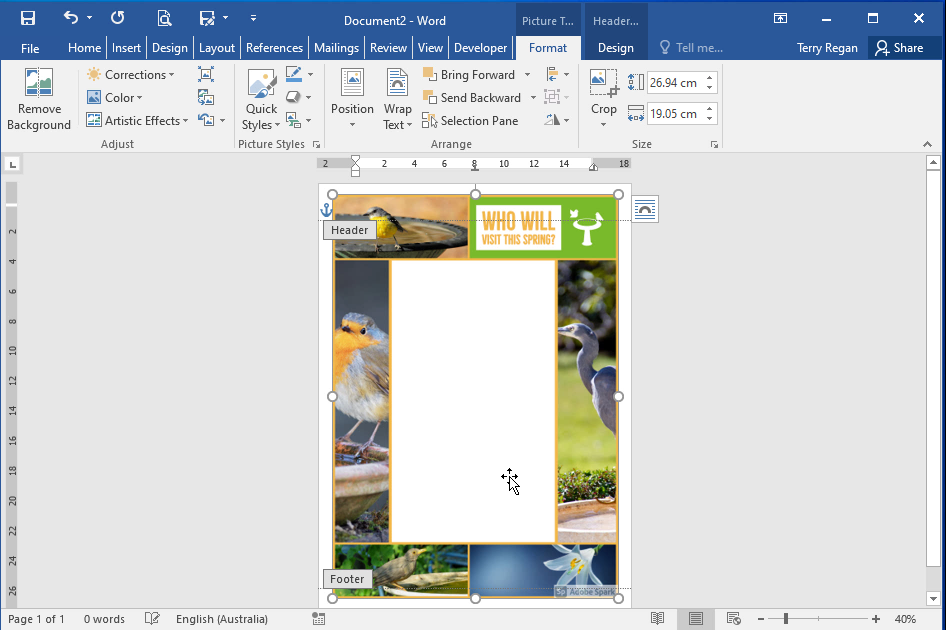
From the Header and Footer Tools Design ribbon you can now select Close Header and Footer (Design > Close Header and Footer).

With the Header and Footer closed the background picture will preview faded like a watermark but it will still print clearly and export-to-PDF clearly.
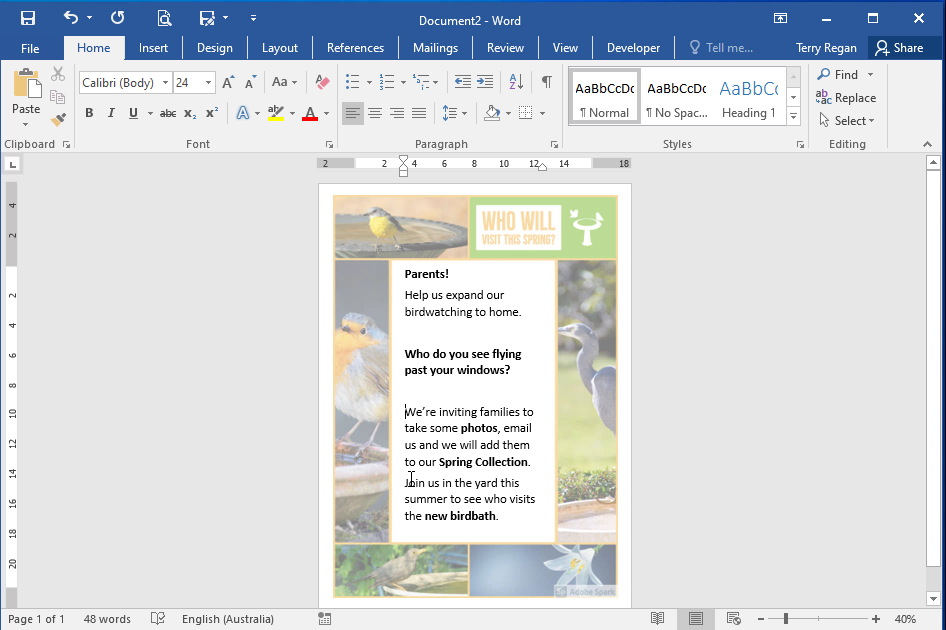
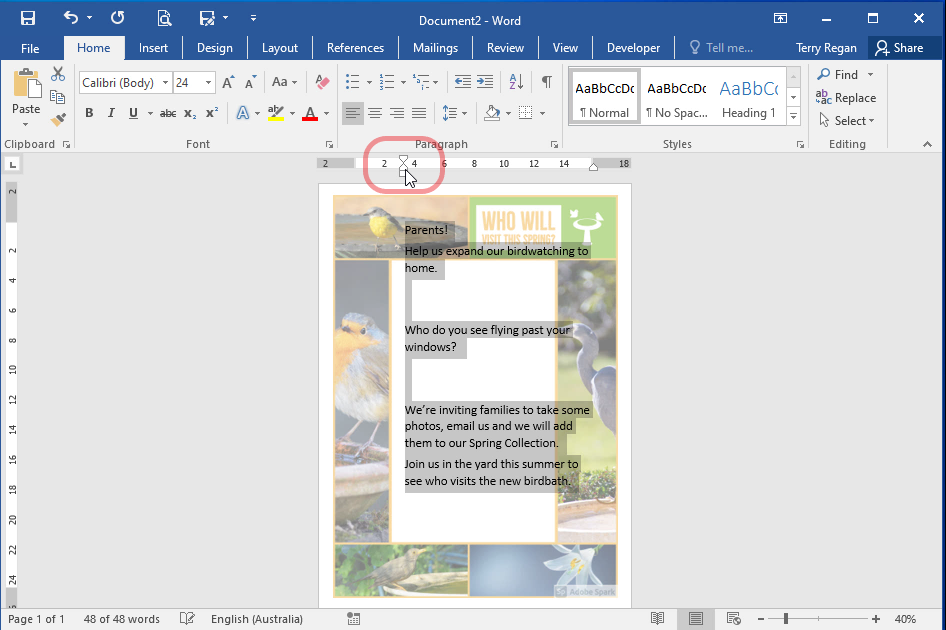
In our example when we add text for the poster we want our text in the centre white space. One option is to insert and position a Text Box. Another option is to use the Text Indent handles on the margin rulers.
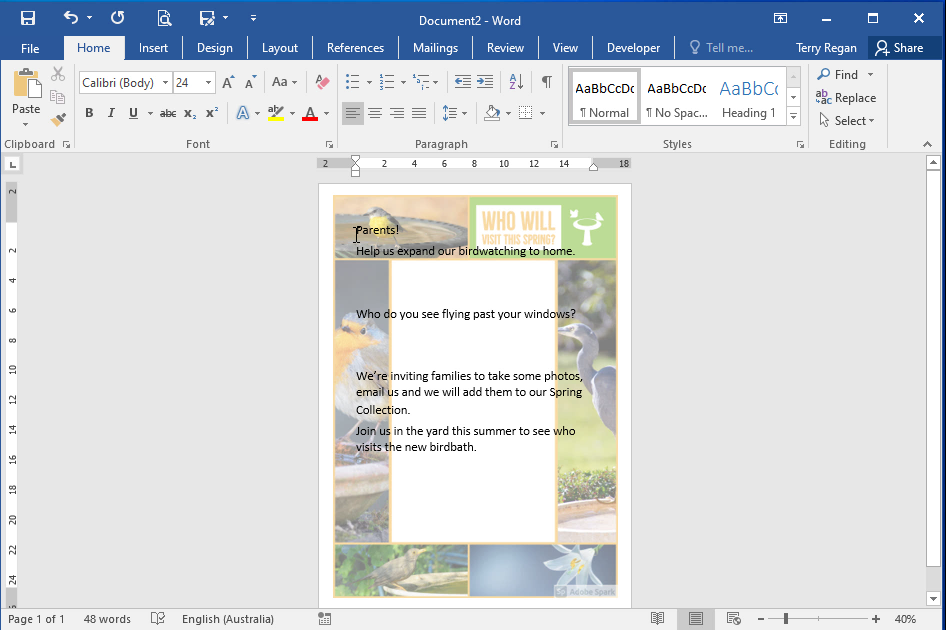
Select the text on the page. Then click and drag the Left Indent handle to position the text.
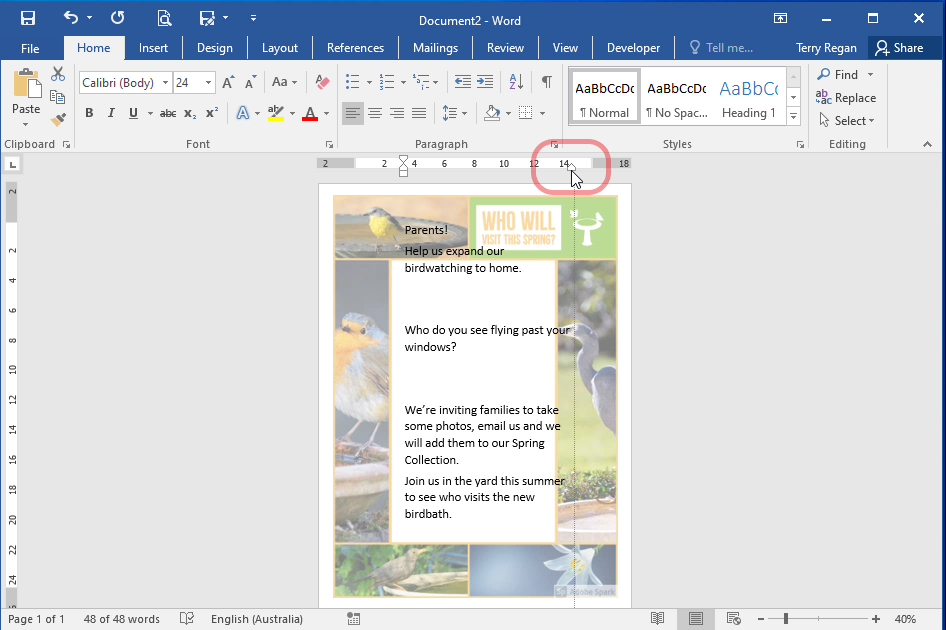
In our example we need to also adjust the right side. Drag the Right Indent to a position where text remains within the centre white space.
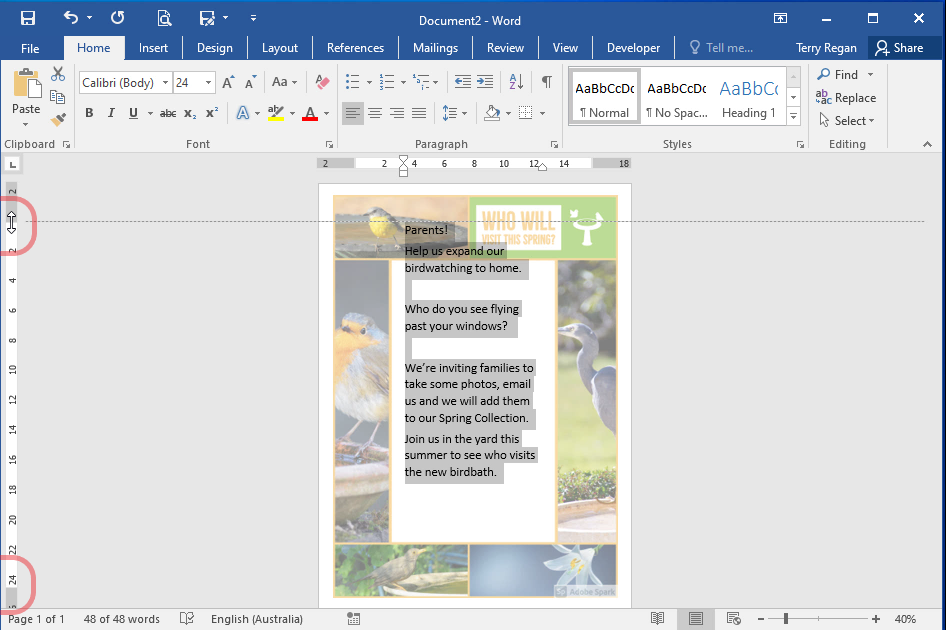
Lastly, in our example we need to use the left side ruler to adjust the top and bottom margins. Hover the cursor over the point where the left ruler turns grey to white, then click and drag up/down to adjust the border.
The poster layout is now complete.
You can learn more about ruler and text indent options here: https://support.microsoft.com/en-us/office/using-the-ruler-in-word-775014ca-7bb9-4b75-ba19-4478c4a836d1